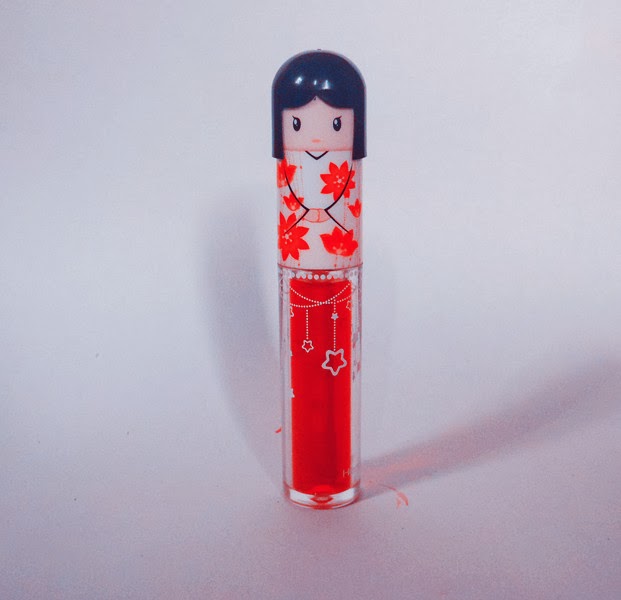
I really want to own a lip stain since it is long lasting and will make gradient lips so easy to make. It's been a long time since I am searching for a lip stain, It is really hard to find here in our country -,- and then I went along with my mom to Walter Mart and saw a lip stain that makes me think "Oh Finally! I've been searching you for so long!" so I get it excitedly and look at it's price *facepalm* It's expensive T^T
Right after I came back home, bringing no lip stain, I searched some DIY Lip stain and the technique of extracting fruits like raspberry is what I saw. The one who thought that is so wise but I don't like the fact that I have to put it in the fridge so it will not smells. I think that there are still other way to make your own lip stain. Until I came up with this DIY that only costs me P5.00 ($0.12) So cheap right?! ^__^ Let's start this DIY!~ I'm so excited =)
MATERIALS NEEDED:
FOOD COLORING
OLD LIP GLOSS CONTAINER
WATER
BOWL
You can use other containers as well but I think an old lip gloss container works best, because its brush will make the application of the stain on our lips easier than any other container out there.
1. First thing we need to do is clean the old lip gloss container. I cleaned mine with a dish washing soap to remove the excess gloss. Do not stop cleaning the container until it is greasy.
2. In a bowl, pour a small amount of water and a food coloring. It depends on what color you are aiming to. If you want a darker color put more food coloring until it satisfies your taste.
 |
| This color is fine with me =) Kinda reminds me of blood. XD ADVANCE HAPPY HALLOWEEN EVERYONE!~ |
3.Pour the water+food coloring in your old lip gloss container.
WE'RE DONE!~ VERY EASY RIGHT?!!
I tested this lip stain on me and it stayed all day. It doesn't even smudge when I am eating and drinking. You should definitely try making this one =) The only cons about this is that it kinda dry your lips but you can use lip balm to avoid that. ♥♥


.jpg)

.jpg)

