What is a lip balm?
Lip balm or lip salve is a wax-like substance applied topically to the lips of the mouth to relieve chapped or dry lips. I have noticeable dry lips and as a substitute of buying an expensive lip balm, I tried an alternative way to make my own. Super effortless to make and surely effectual since we used petroleum jelly as our material. We all know that petroleum jelly works best for dry skin. Lips are also skin so they deserve proper treatment too. I made this DIY about 4 months ago and I’m not letting a day to pass without putting some on my lips. It became better.
During our battle of the band that was just a few months back, held in SM Baliwag, I saw a zenzest fruity lip balm. I am hesitate to buy it at first seeing I already have one. But I still ended up buying it because I want to do some comparison between the two. Which will be better? Which will be more effective? Which is which?
Overall, I prefer my own lip balm, not because I made it, but because it really moisten my lips, unlike the other one. I advocate you to try making your own balm for you to get exactly what kind of lip balm you really wants. The color, consistency and the texture is under your control. It's up to you! For all those who want to learn how to make your own lip balm, keep scrolling!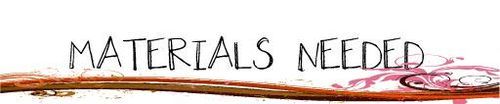
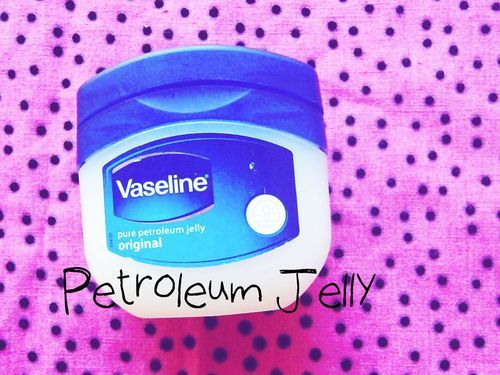
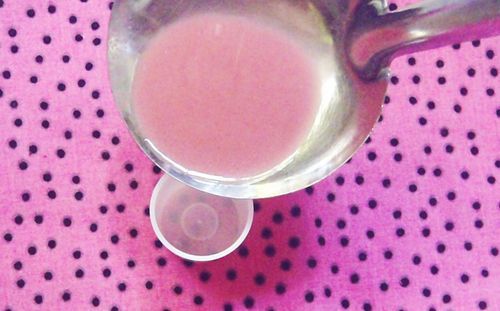
1. Put a small amount of lipstick and petroleum jelly in a ladle/spoon. It will be better if you will use just an old lipstick thus we just need a small amount of it just to add color for our balm. But if you don’t want any color and just natural, don’t do this diy and use petroleum jelly itself. Place the ladle over the fire, wait until it melts.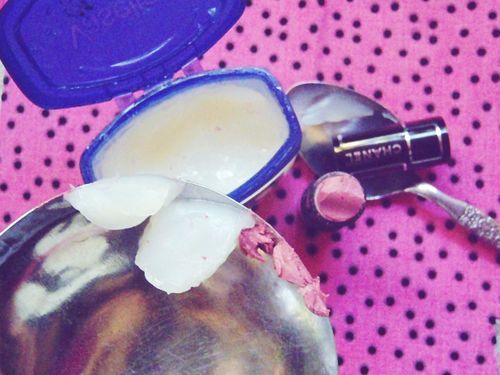 


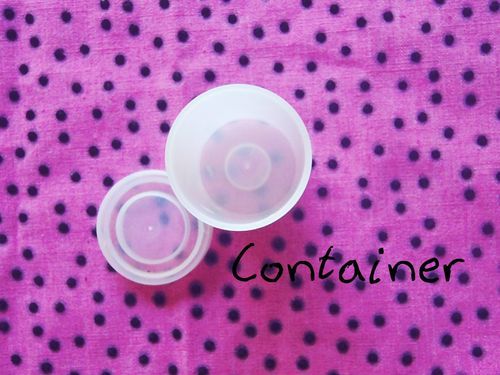
2. Put it in a container. Mine was an old container of a camera film. You can also use any container of your choice, but make sure that it is clean . Afterwards, put it inside the refrigerator. Wait, until it cools down.

TADAAAAA!! We’re done.. So easy!!.
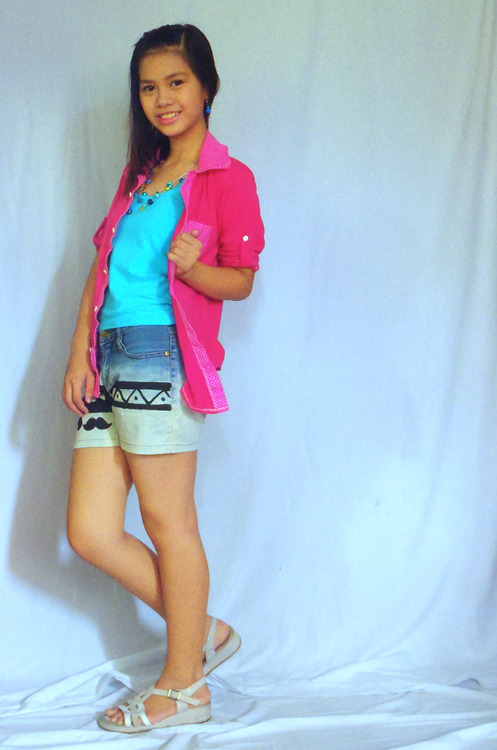
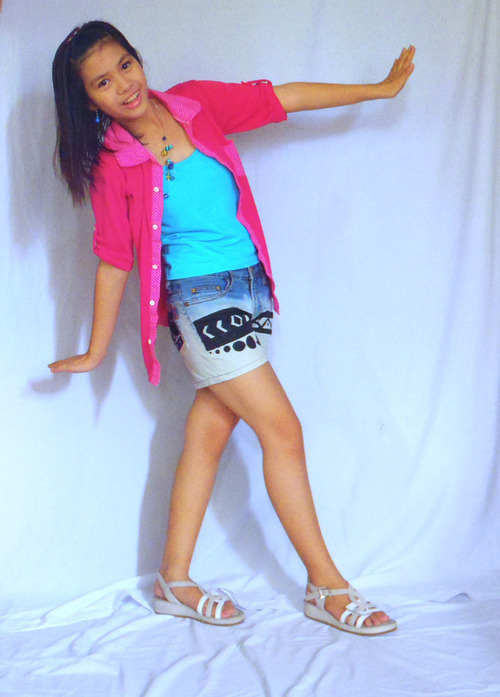

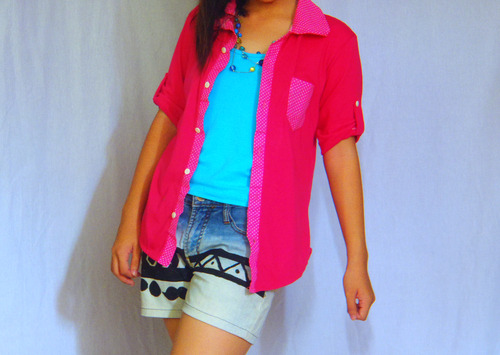 I bought the shorts from a thrift store and turned it into ombre shorts. I used black fabric paint just to put some so-called-designs and zonrox for the bleaching. It took me 2 days and 1 night to achieve the desired color. If you want to learn how to ombre your own shorts, visit this
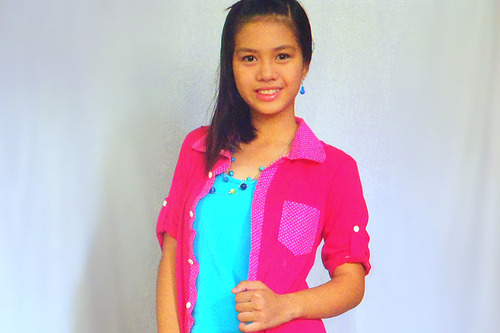
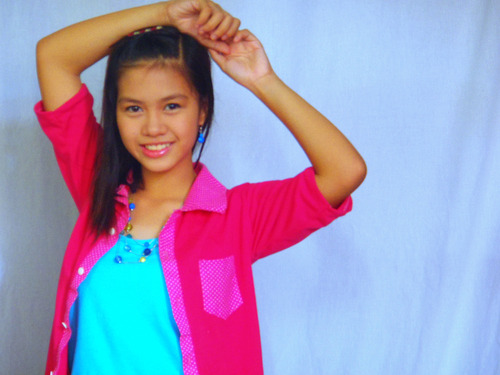
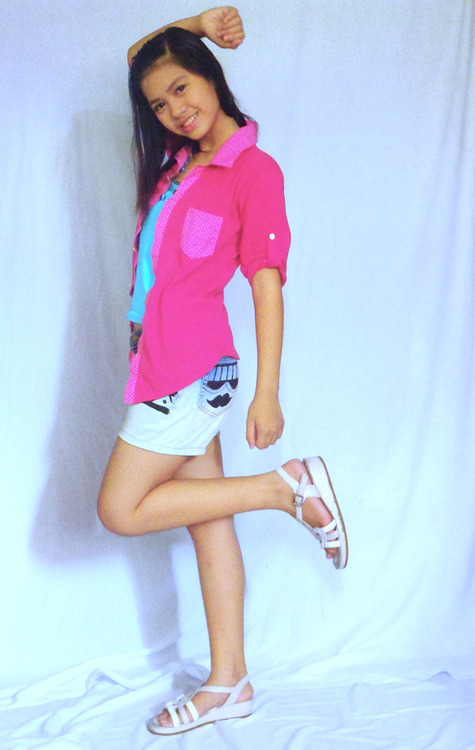
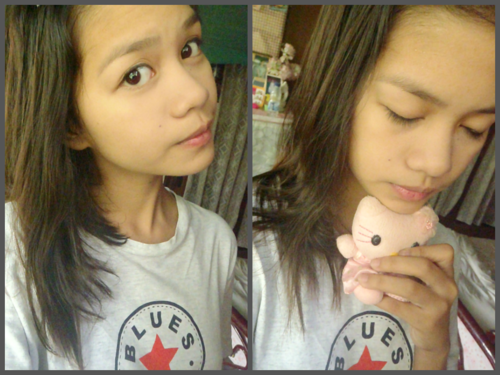
 Looking at this photo makes me realize that I'm a little chubby back then. But I am SO SO SO (sorry for overusing the word 'so') GLAD to see that my hair really grows. I really miss my long hair.
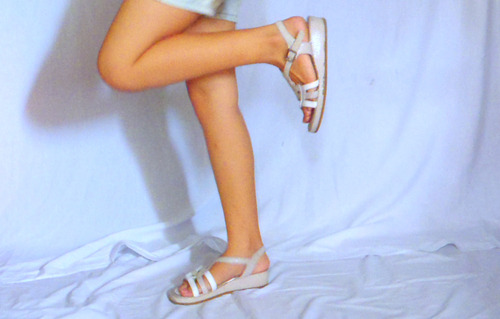
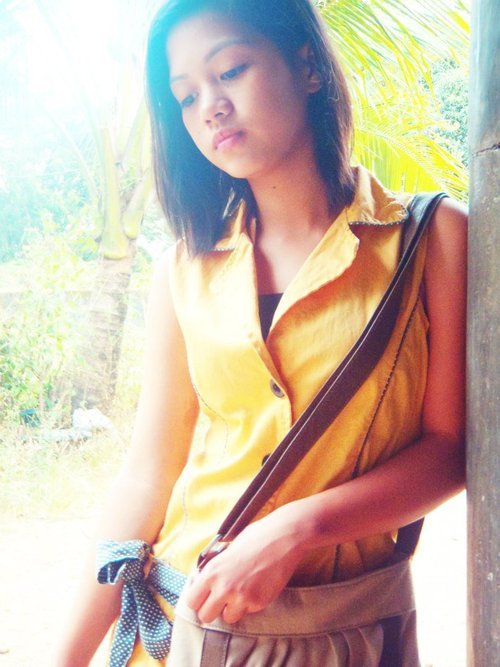
  This one is against the light. Maybe you can't see the details of the outfit clearly but I still post it because I look so tall and slim here. Thanks AGAIN to my auntie for the bag and my other auntie for my footwear. I'm so lucky to have aunties that are generous!!
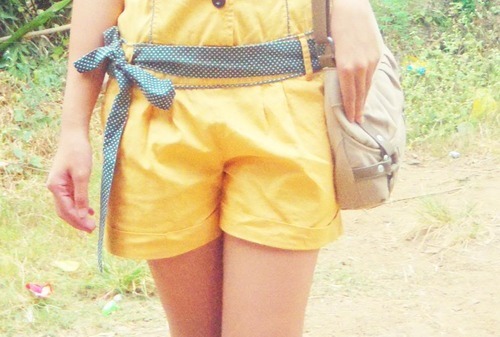

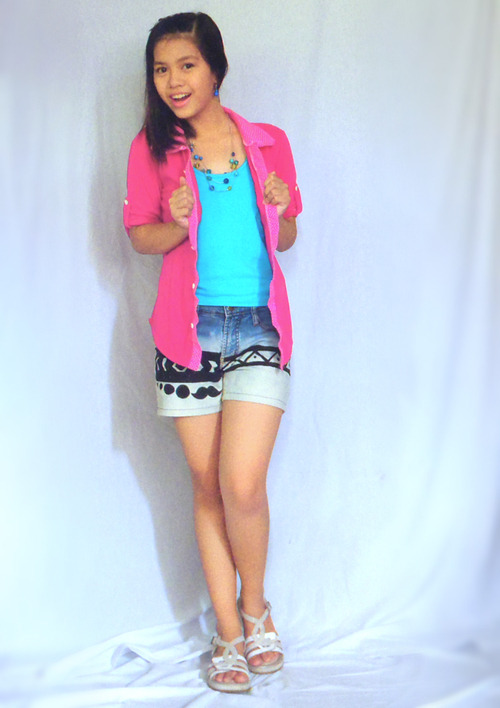
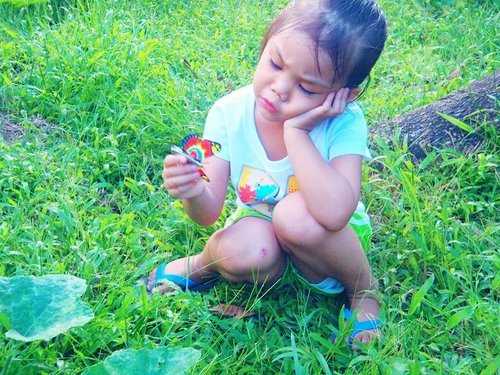
 Credits to the tripod for all of these pictures. Poor me, I am so vain and no one can stand it except for my 4-year-old niece (lol). I just want to share her pictures that I really love.
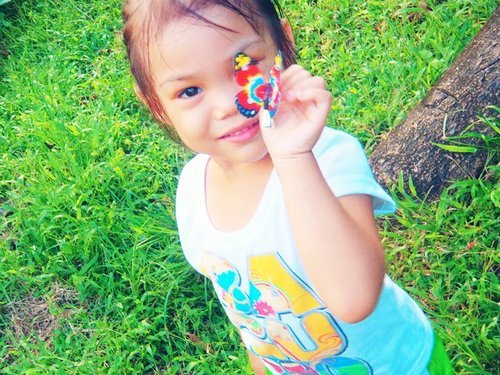


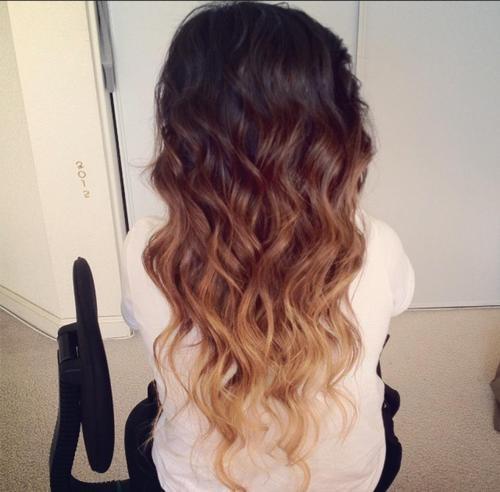
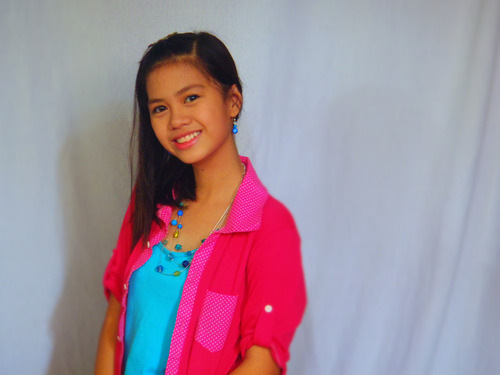
 Okay, maybe it looks good in photos but it is way too different when you saw it with your bare eyes personally. As the matter of fact, these photos were taken after 3 months from the day I cut my hair. I don't know, I just don't like to snap pictures of myself with that REALLY short hair. But hey! I have no regrets, as for sudden change is not that bad after all. I am so happy that my hair grows though slow. Well, at least, it grows, so let's be thankful. Though I really don't possessed VERY long hair back then, it is really sad to think that my hair grows really slow that it took me less than a year to achieved the length of this hair.


 What I love on having a long-hair is that many hairstyle can be done, unlike short hair like mine. One more reason why I want to achieve this length is because I have a plan to make my hair ombre right after high school which will be on a better result if you have long hair.